If you’re new to robotics, coding, or project-based learning, the Micro:bit is one of the best tools to begin your journey. Created by the BBC, this tiny programmable board was designed to make technology fun, simple, and hands-on for students. With just a few clicks, you can use it to build robots, games, sensors, and even real-life problem-solving devices.
In this beginner-friendly guide, we’ll explore:
- What the Micro:bit is.
- Key features and parts of the board.
- How to set it up.
- First steps to writing your own program.
- Ideas for simple starter projects.
1. What is the Micro:bit?
The Micro:bit is a small, pocket-sized computer that helps people learn coding and electronics. Despite its size, it can be programmed to do many amazing things — from controlling robots to measuring temperature or sending radio messages.
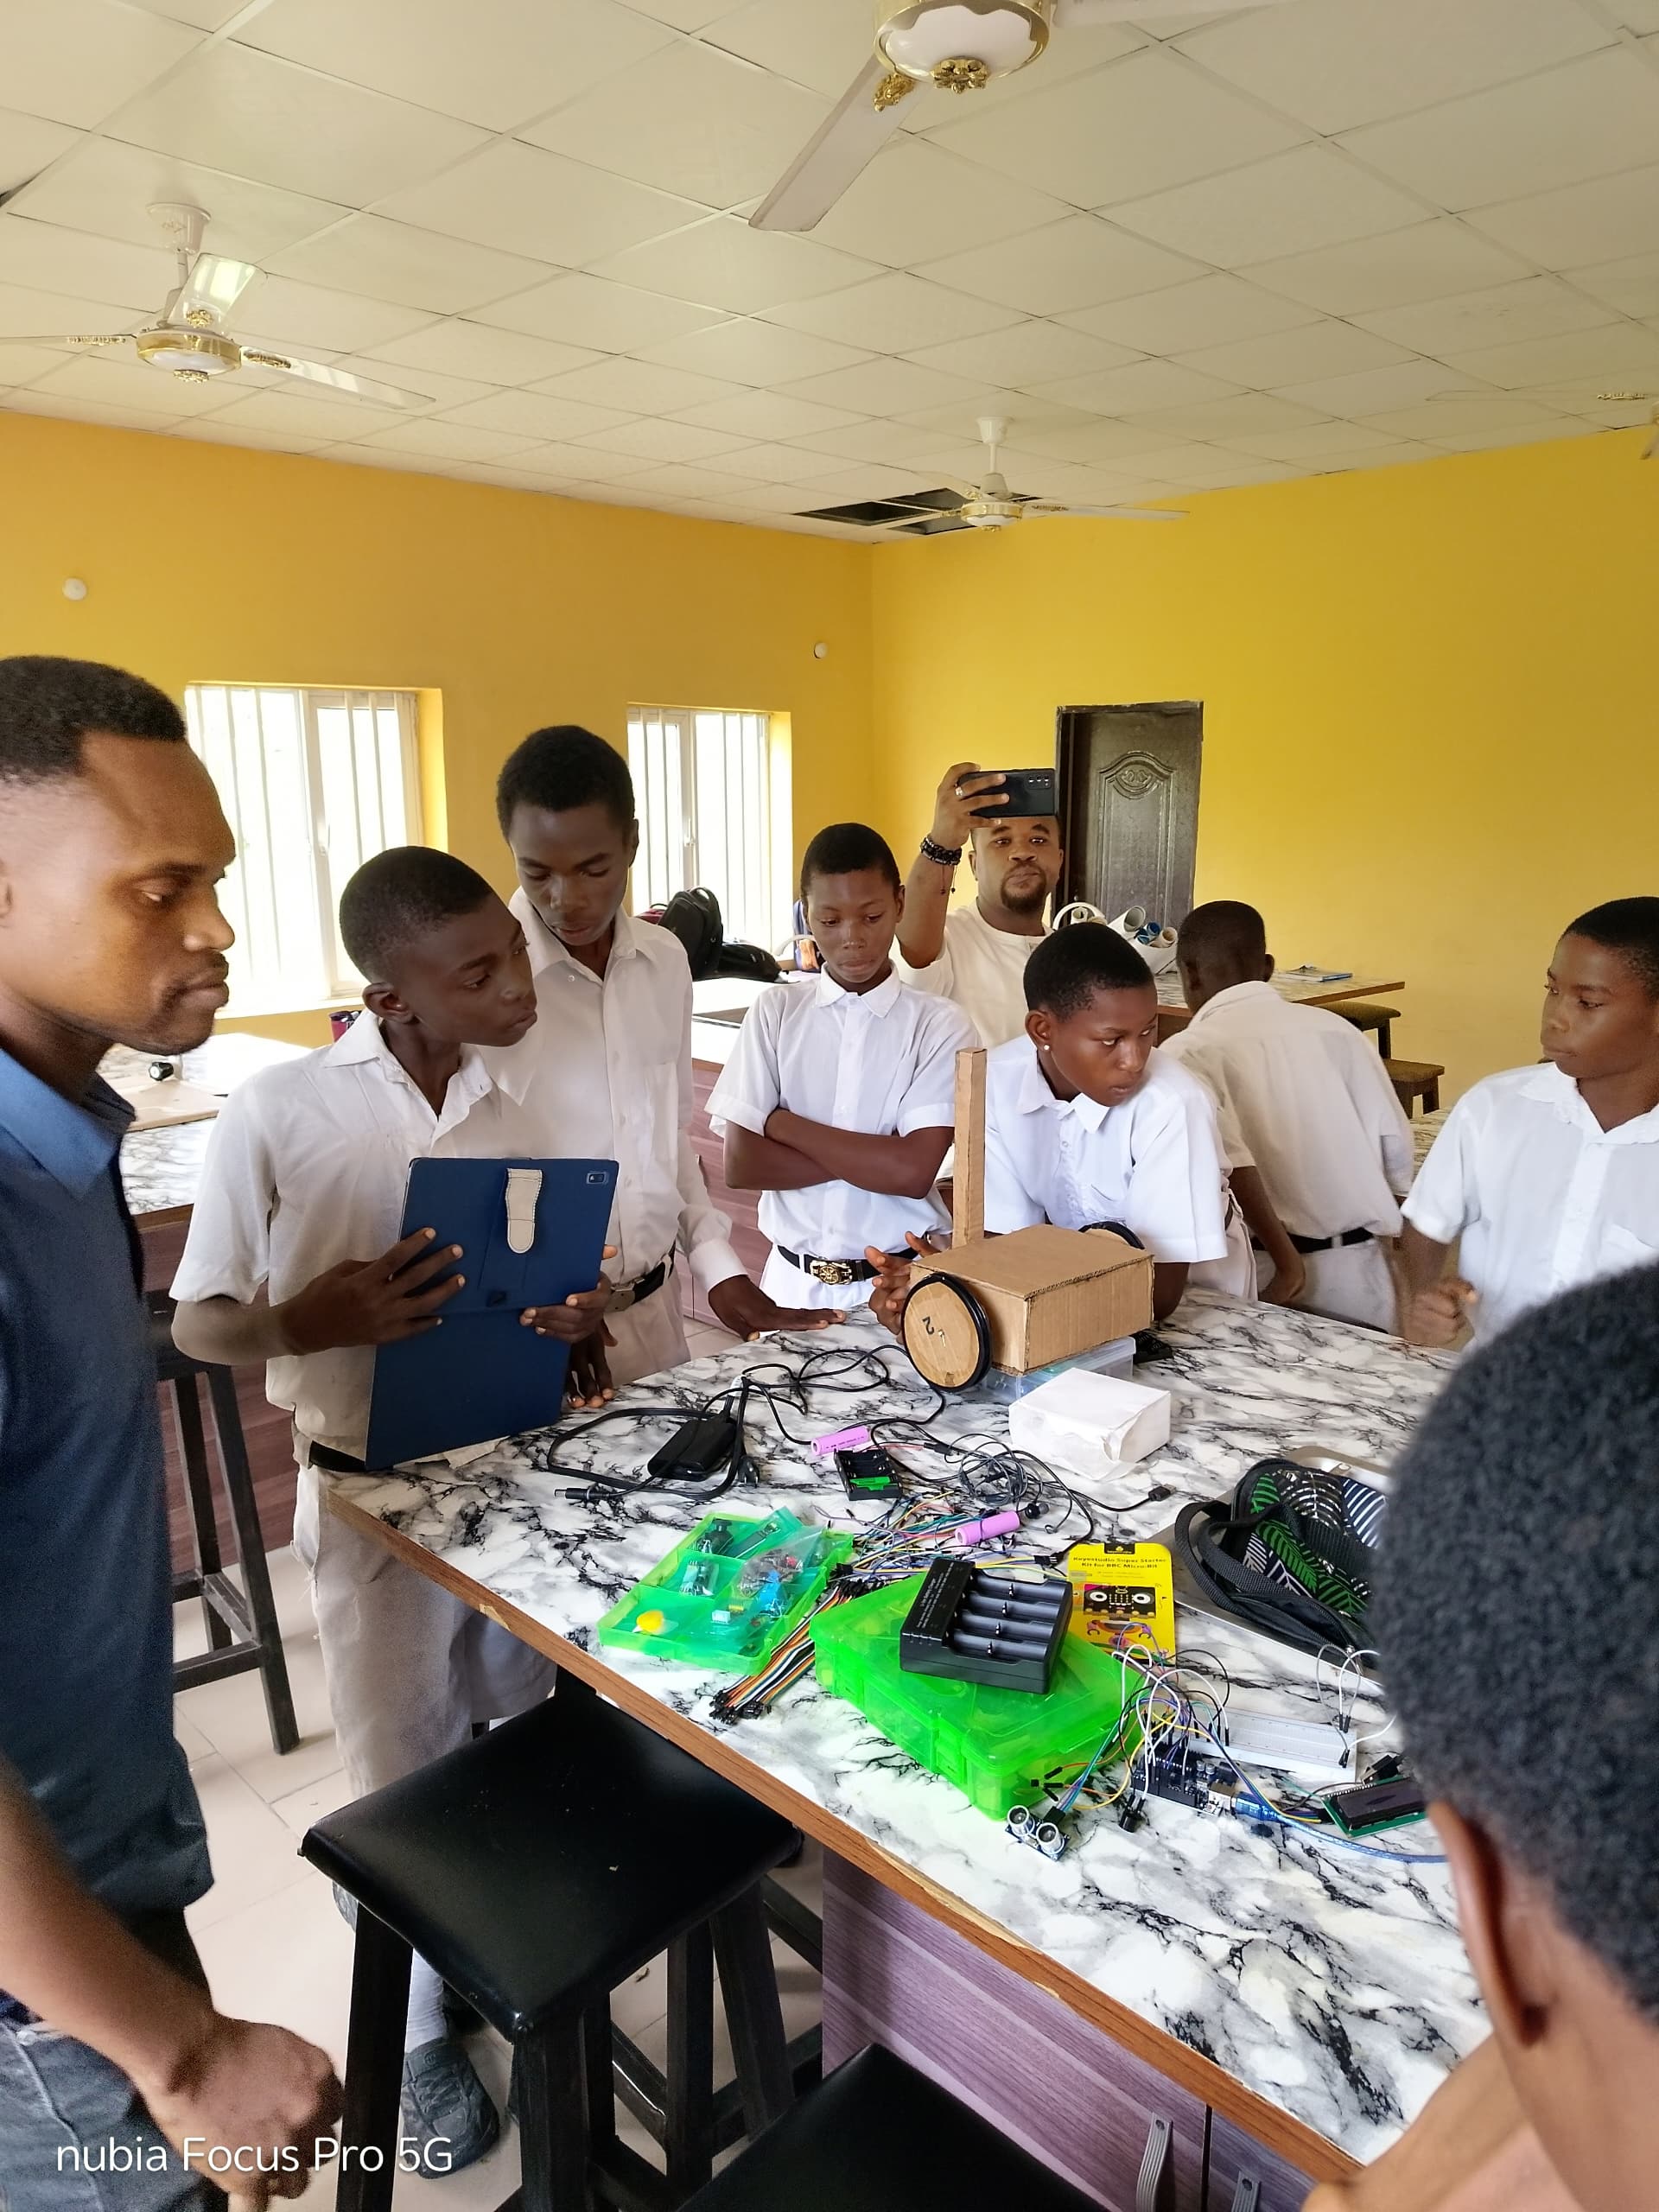
It is widely used in schools and STEM programs because it makes learning interactive, visual, and creative.
2. Key Features of the Micro:bit
On the front and back of the board, you’ll notice several components. Here’s what they do:
- 25 LED lights – Can display patterns, animations, or messages.
- 2 Buttons (A & B) – Can be used for input, like starting or stopping a game.
- Pins – Allow you to connect sensors, motors, or other devices.
- Motion Sensor (Accelerometer) – Detects movement and shaking.
- Compass (Magnetometer) – Detects direction like a digital compass.
- Bluetooth – Lets the Micro:bit connect to phones or other devices wirelessly.
These features make it versatile and useful for many creative projects.
3. How to Set It Up
Getting started is quick and simple:
- Connect the Micro:bit to your computer with a USB cable.
- It appears as a drive (like a flash drive).
- Visit the Microsoft MakeCode Editor online.
- Create your program using drag-and-drop coding blocks.
- Download the program to your Micro:bit by dragging it into the Micro:bit drive.
- Your code runs instantly on the board!
4. Write Your First Program
Let’s create a simple “Hello World” for Micro:bit:
- Open MakeCode editor.
- Drag the “On Start” block and add “Show String.”
- Type “Hello!” inside.
- Download and transfer the program to your Micro:bit.
Now, when the board powers on, you’ll see Hello! scroll across the LEDs. 🎉
5. Starter Project Ideas
Here are a few simple projects to try once you’ve mastered the basics:
- Dice Roller – Shake the Micro:bit to get a random number.
- Step Counter – Use the accelerometer to track steps.
- Flashing Heart – Create an animation that blinks on the LEDs.
- Reaction Timer – Test how fast you can press a button when an LED lights up.
- Mini Thermometer – Measure and display room temperature.
Each of these projects introduces a new feature of the Micro:bit while keeping things fun and manageable.
Conclusion
The Micro:bit is proof that technology doesn’t have to be complicated. With just one small board, students can learn coding, robotics, and problem-solving while having fun.
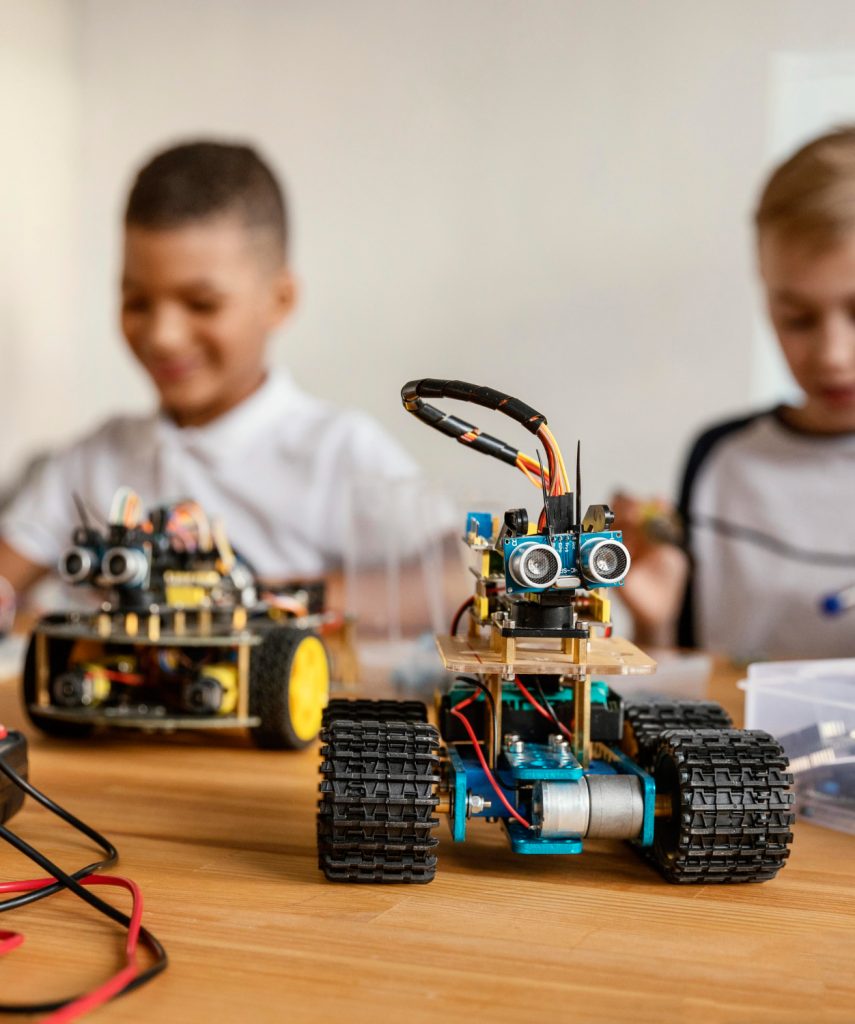
As you practice, you’ll discover how the Micro:bit can be combined with motors, sensors, and other components to build real-world solutions. The key is to start small, learn step by step, and keep experimenting.
So grab your Micro:bit, connect it to your computer, and let your journey into the world of innovation begin!